Appearance
Limits
Limits are a stronger version of a Filter. A Limit doesn't just limit what you can see, it temporarily limits items from existing within the Worksheet. A great use-case is when you want to print labels for your Devices, but just those that need to be configured. Create and Apply the Limit, and Lightwright can accept the command to print all items in the Worksheet but will only print the Devices you have Limited to.
Touch the Limits Button  at the bottom Right of the Worksheet. This brings you to the Limits building area.
![]()
Limits can be created and stored in two places-- the Show (Show Limits) and your Library (My Limits).
Type a name into a field and touch Add Limit to start.
This creates your Limit, which contains an empty Condition.
![]()
Property-- these are your Columns. Click the pull down to choose one.
The center field is for the condition itself. "Is", "is not", "contains", "does not contain" can be chosen from the pull down.
The last field is a place to type anything that completes the condition.
Here is an example of the Limit to just Configurable Devices. It uses Tag and the key word Config that was added to fixtures that need configuration.
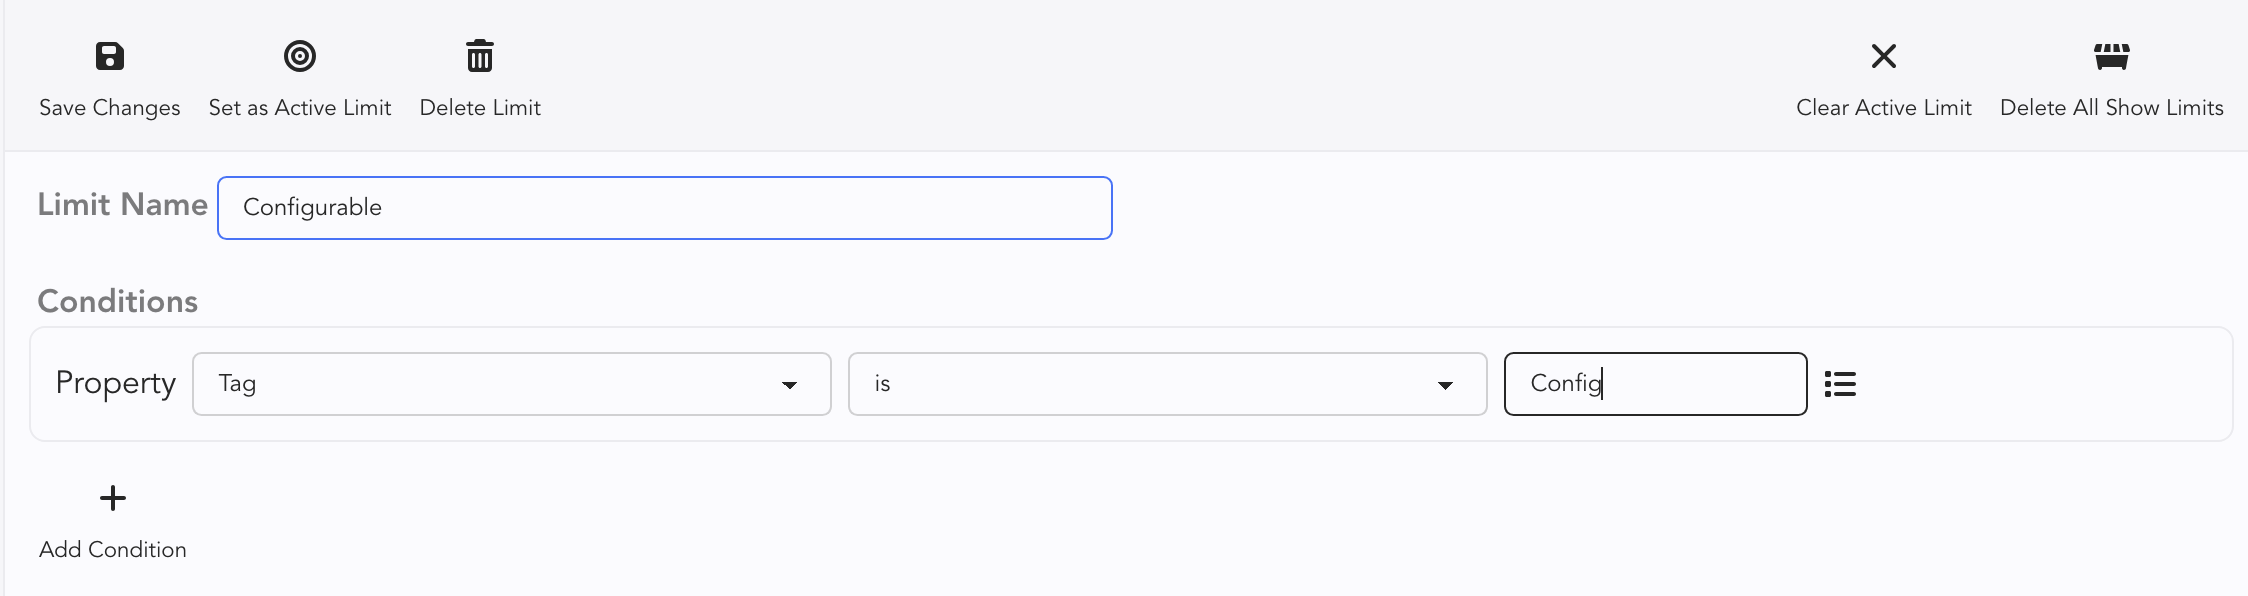
TIP
Once you have chosen a list from the pull-down menu (in this case, a Tag), an icon shows up to the right on the Value field that, when pressed, will pop up the list of items you can choose from.
To test this, return to the Worksheet by touching  in the upper right. Apply the Limit by clicking the pull down menu in the lower right and choosing your Limit.
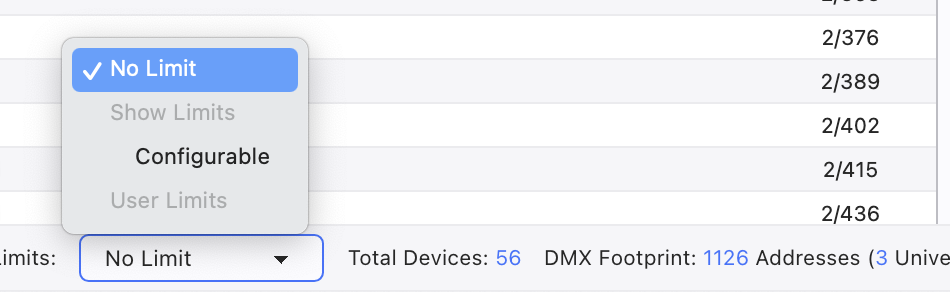
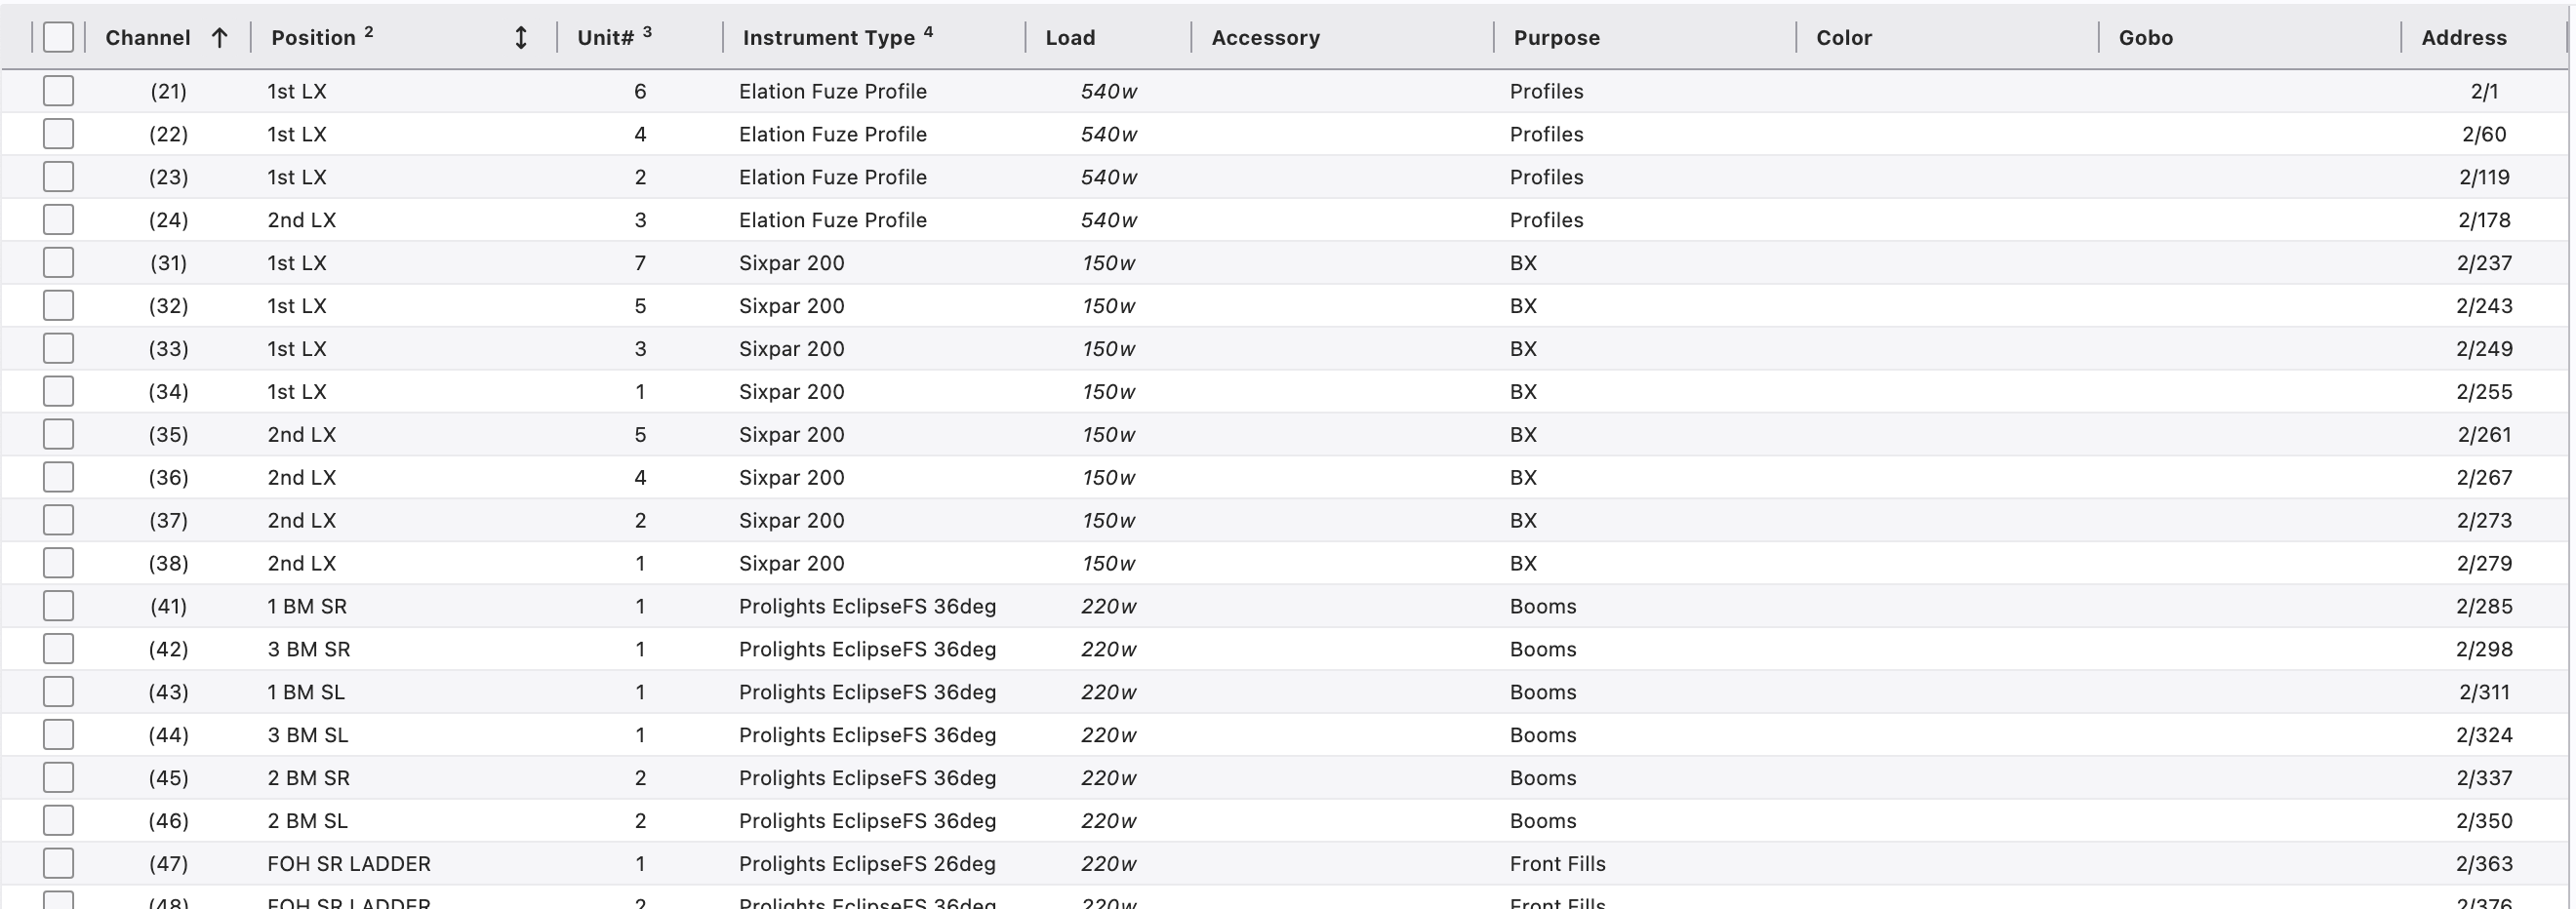
The Limit now Limits your Worksheet and shows only those Devices that fit the Limit. Notice the red outline around the Limit pull down, calling attention to the applied Limit.
To remove a Limit, go to the same Limit pull down and select No Limit.