Appearance
External Integration
Vectorworks Data Exchange
VWX allows you to sync data between Vectorworks and Lightwright. Vectorworks 2021 and beyond is supported. The process starts in VW, so open Vectorworks. This tutorial was done in VW 2025.
File>Document Settings>Spotlight Preferences.
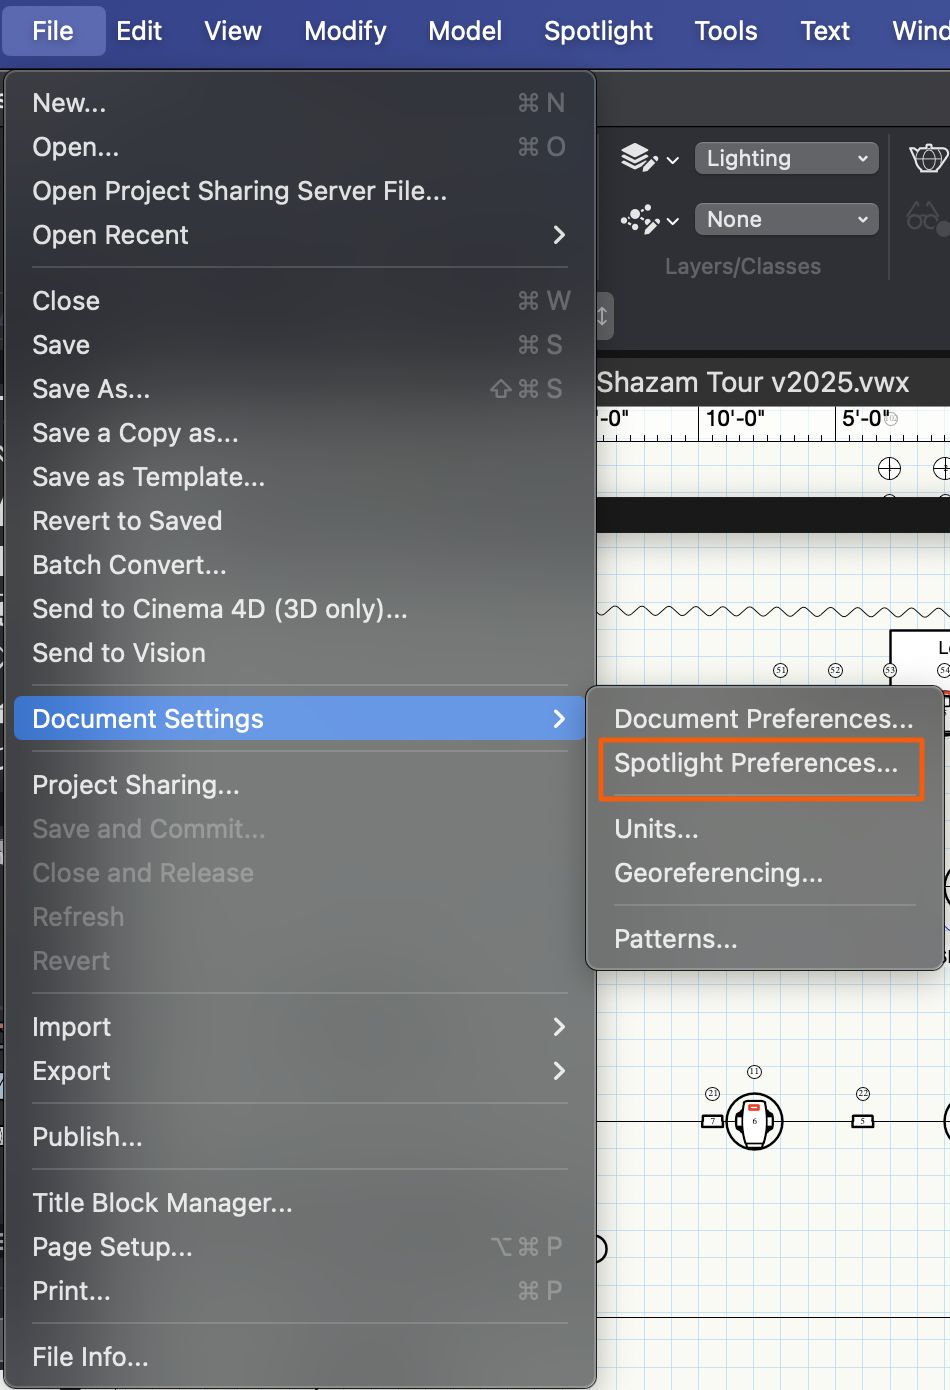
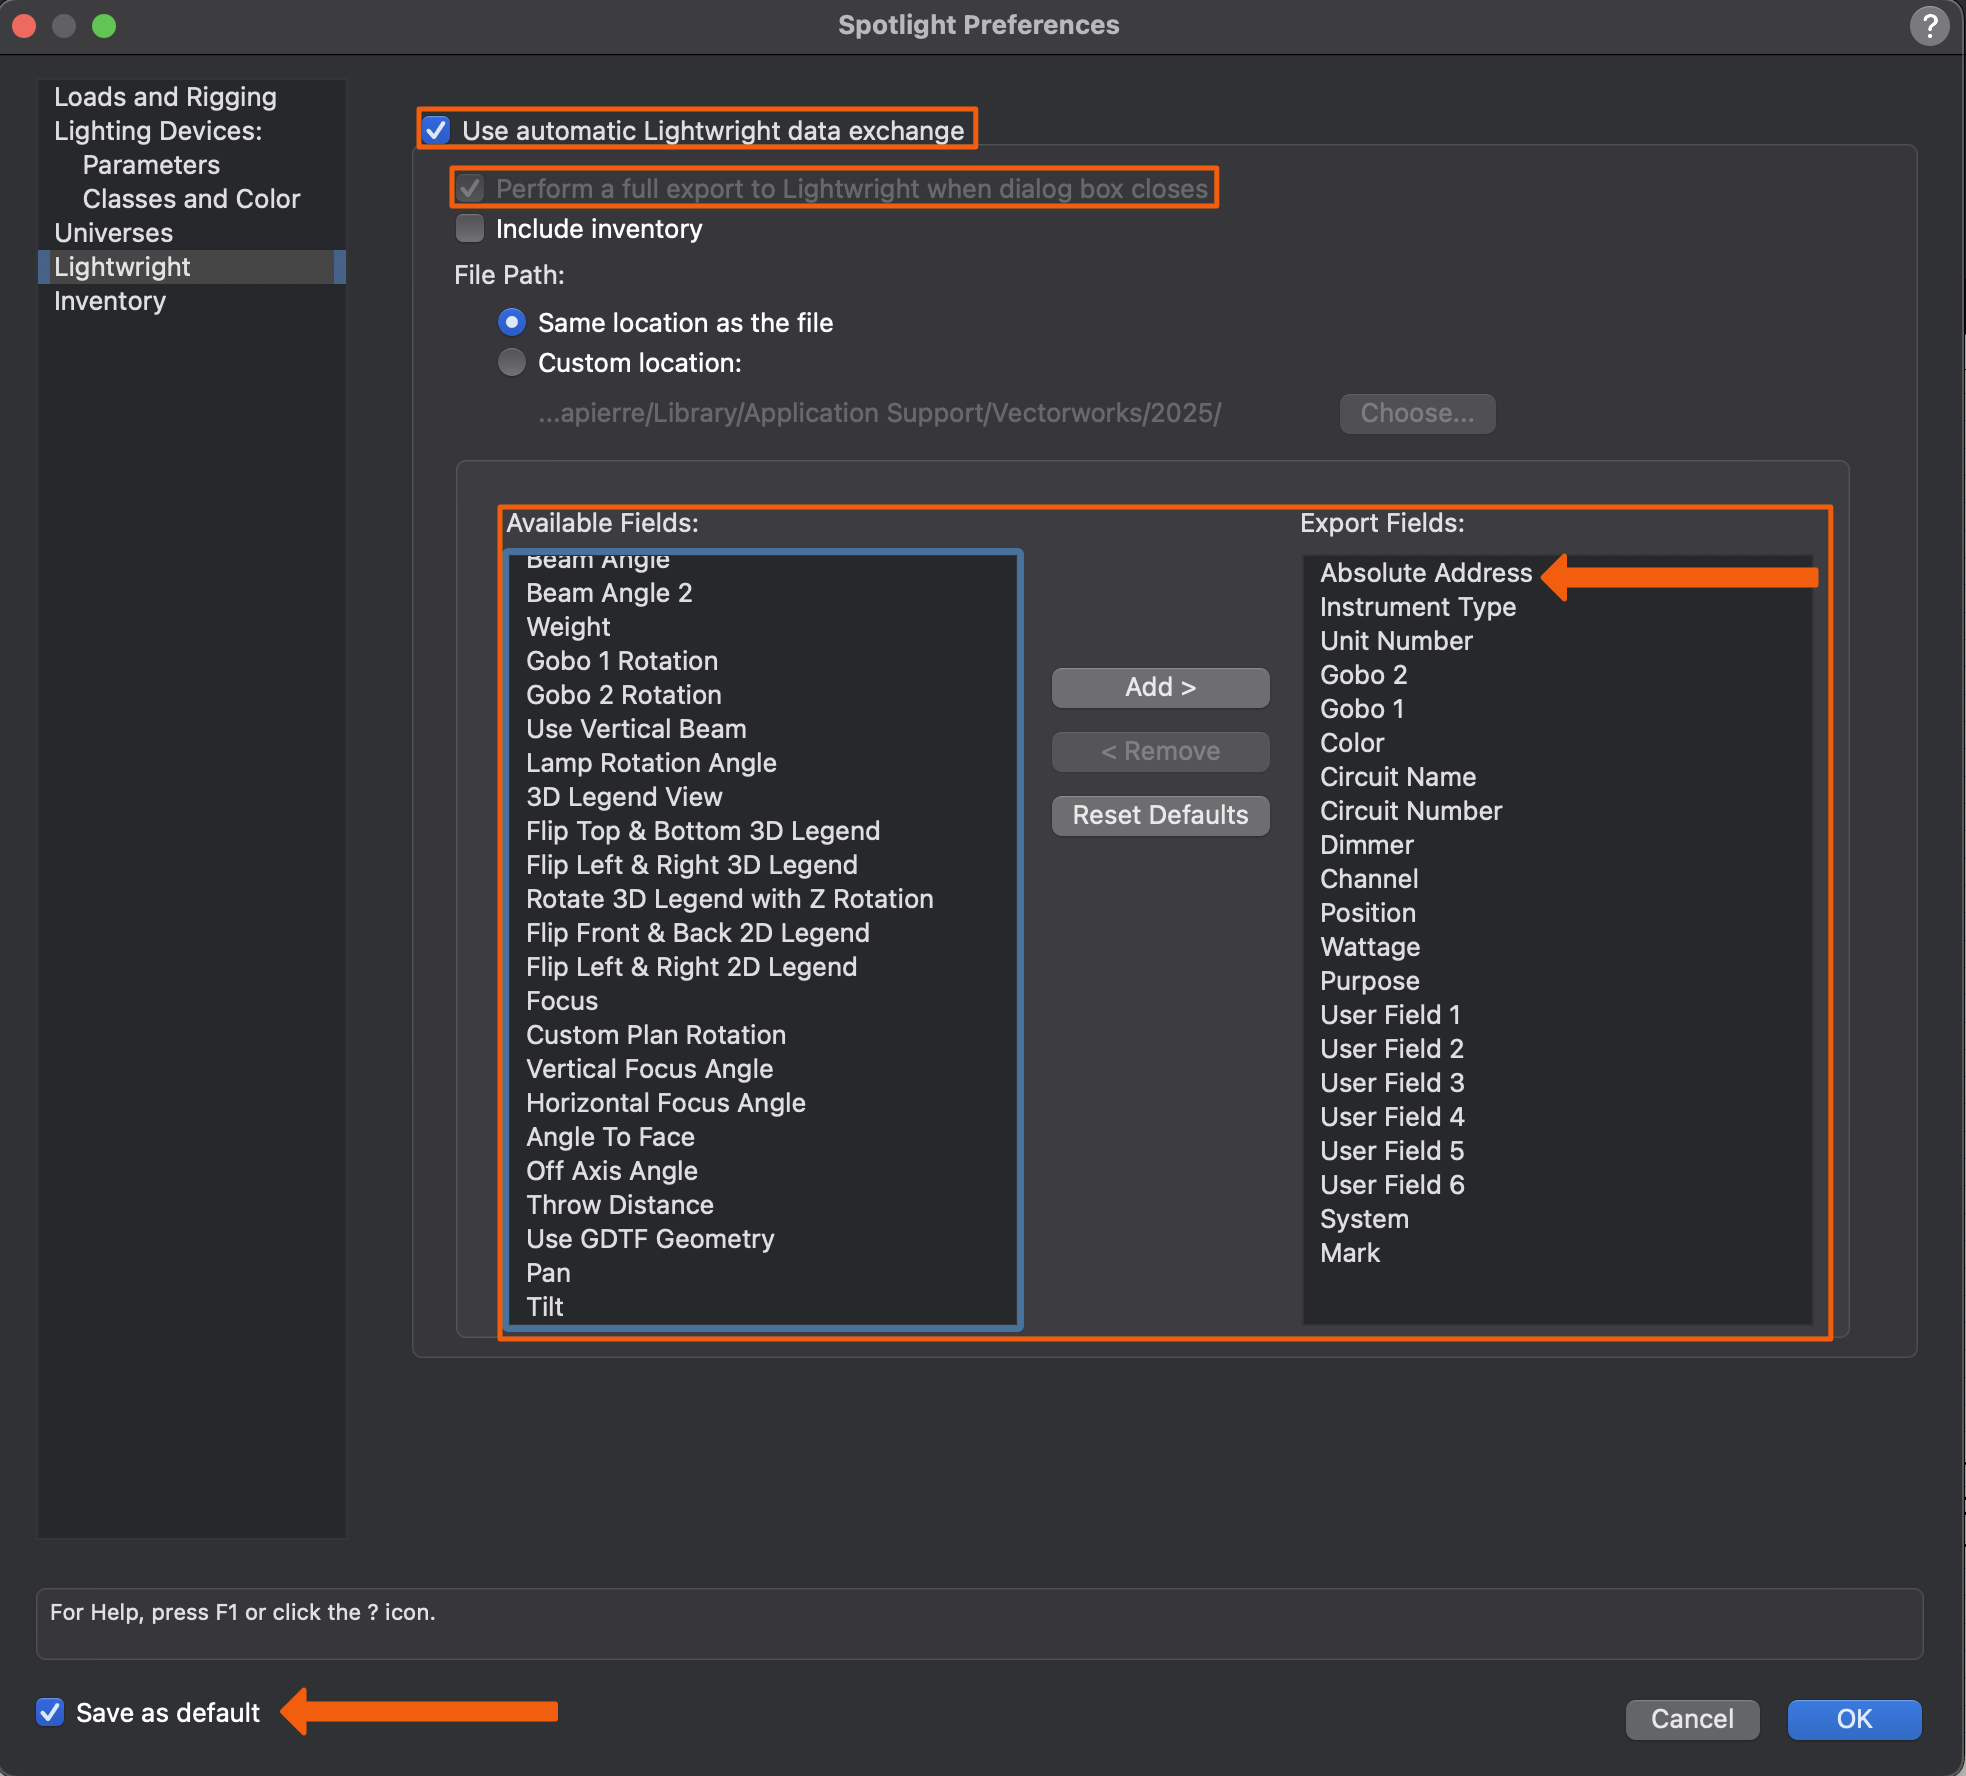
This opens Spotlight Preferences. On the left is a column of fields in Vectorkworks, on the right are fields that will get exchanged with Lightwright. Some options are here by default, but some you might want to move over to include.
WARNING
Please make sure Absolute Address is set to export to Lightwright. Dimmer has changed definitions many times over the years in usage. LW expects VWX Dimmer to map to LW Power, and should not be mapped to address. Use Absolute Address for Addressing needs only.
TIP
Make sure "Perform a full export to Lightwright when dialogue box closes" is turned on. The first time, it is by default. But just in case, you should know to look for this. This creates or updates the XML file that is the basis for data exchange.
TIP
Once you have your Export Fields set, consider ticking the "Save as Default" option in the lower left to save yourself time on future projects.
WARNING
XYZ coordinates are read-only. You cannot edit those values in Lightwright. Also, currently Lightwright isn't able to accept X and Y rotation values from Vectorworks. It should function soon.
In Lightwright, press the V icon ![]() in the upper right corner. The VWX Data Exchange tab opens.
in the upper right corner. The VWX Data Exchange tab opens.

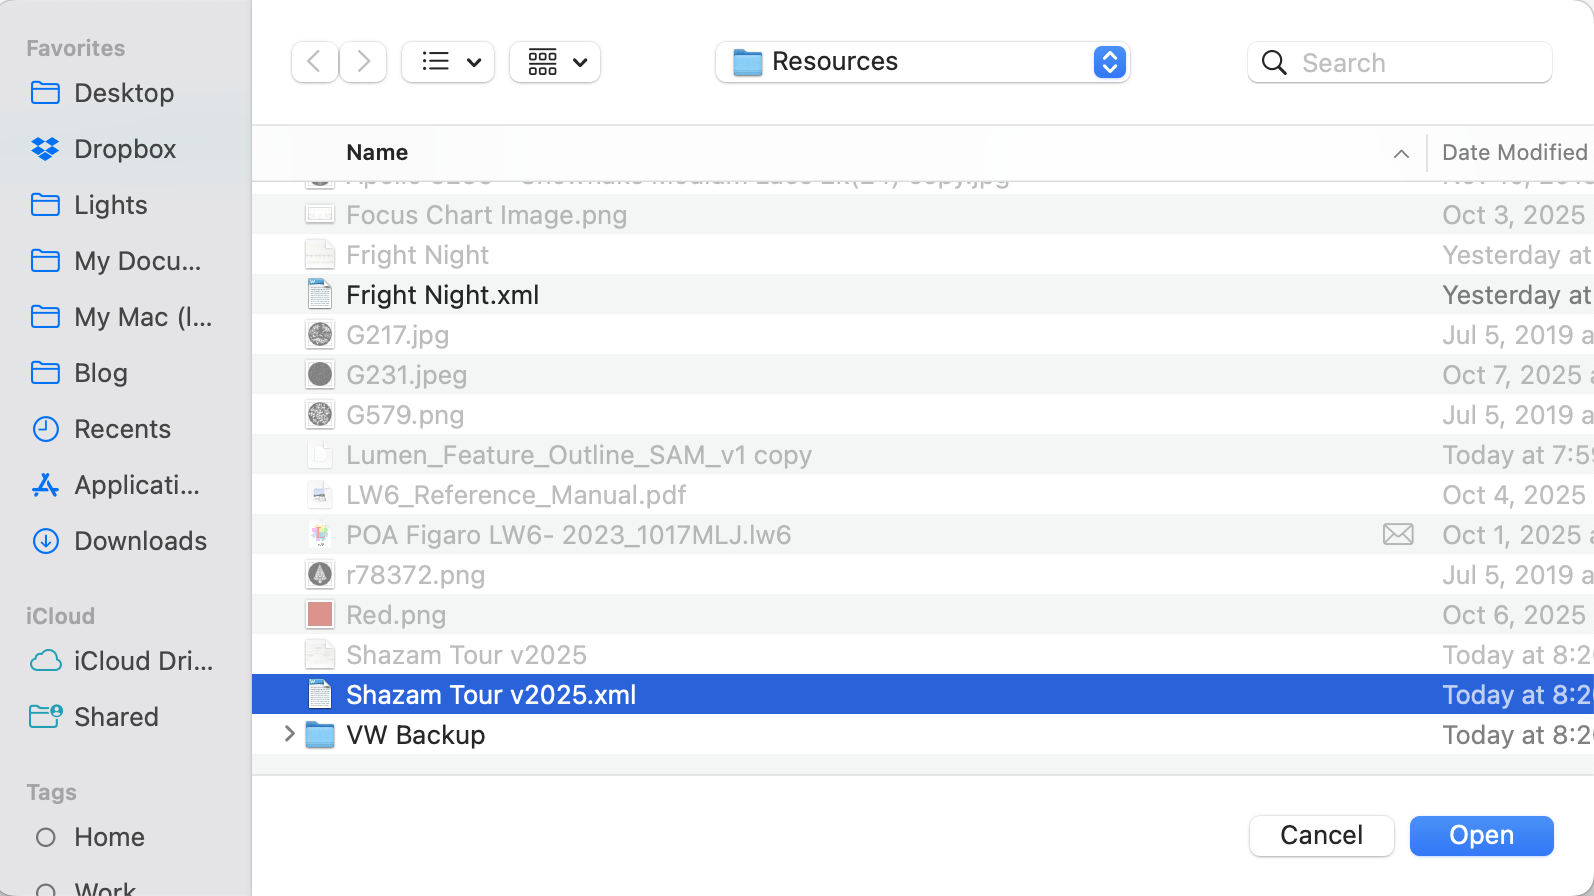
Touch Start Data Exchange. A popup appears for you to choose the XML fill that Vectorworks created. Take note of the Start Fresh option as it's tailor-made for base show files.
The Field mapping popup opens. This area allows you to customize what fields in VW match with what fields in LW. The defaults work for many cases, but the option to customize is always available.
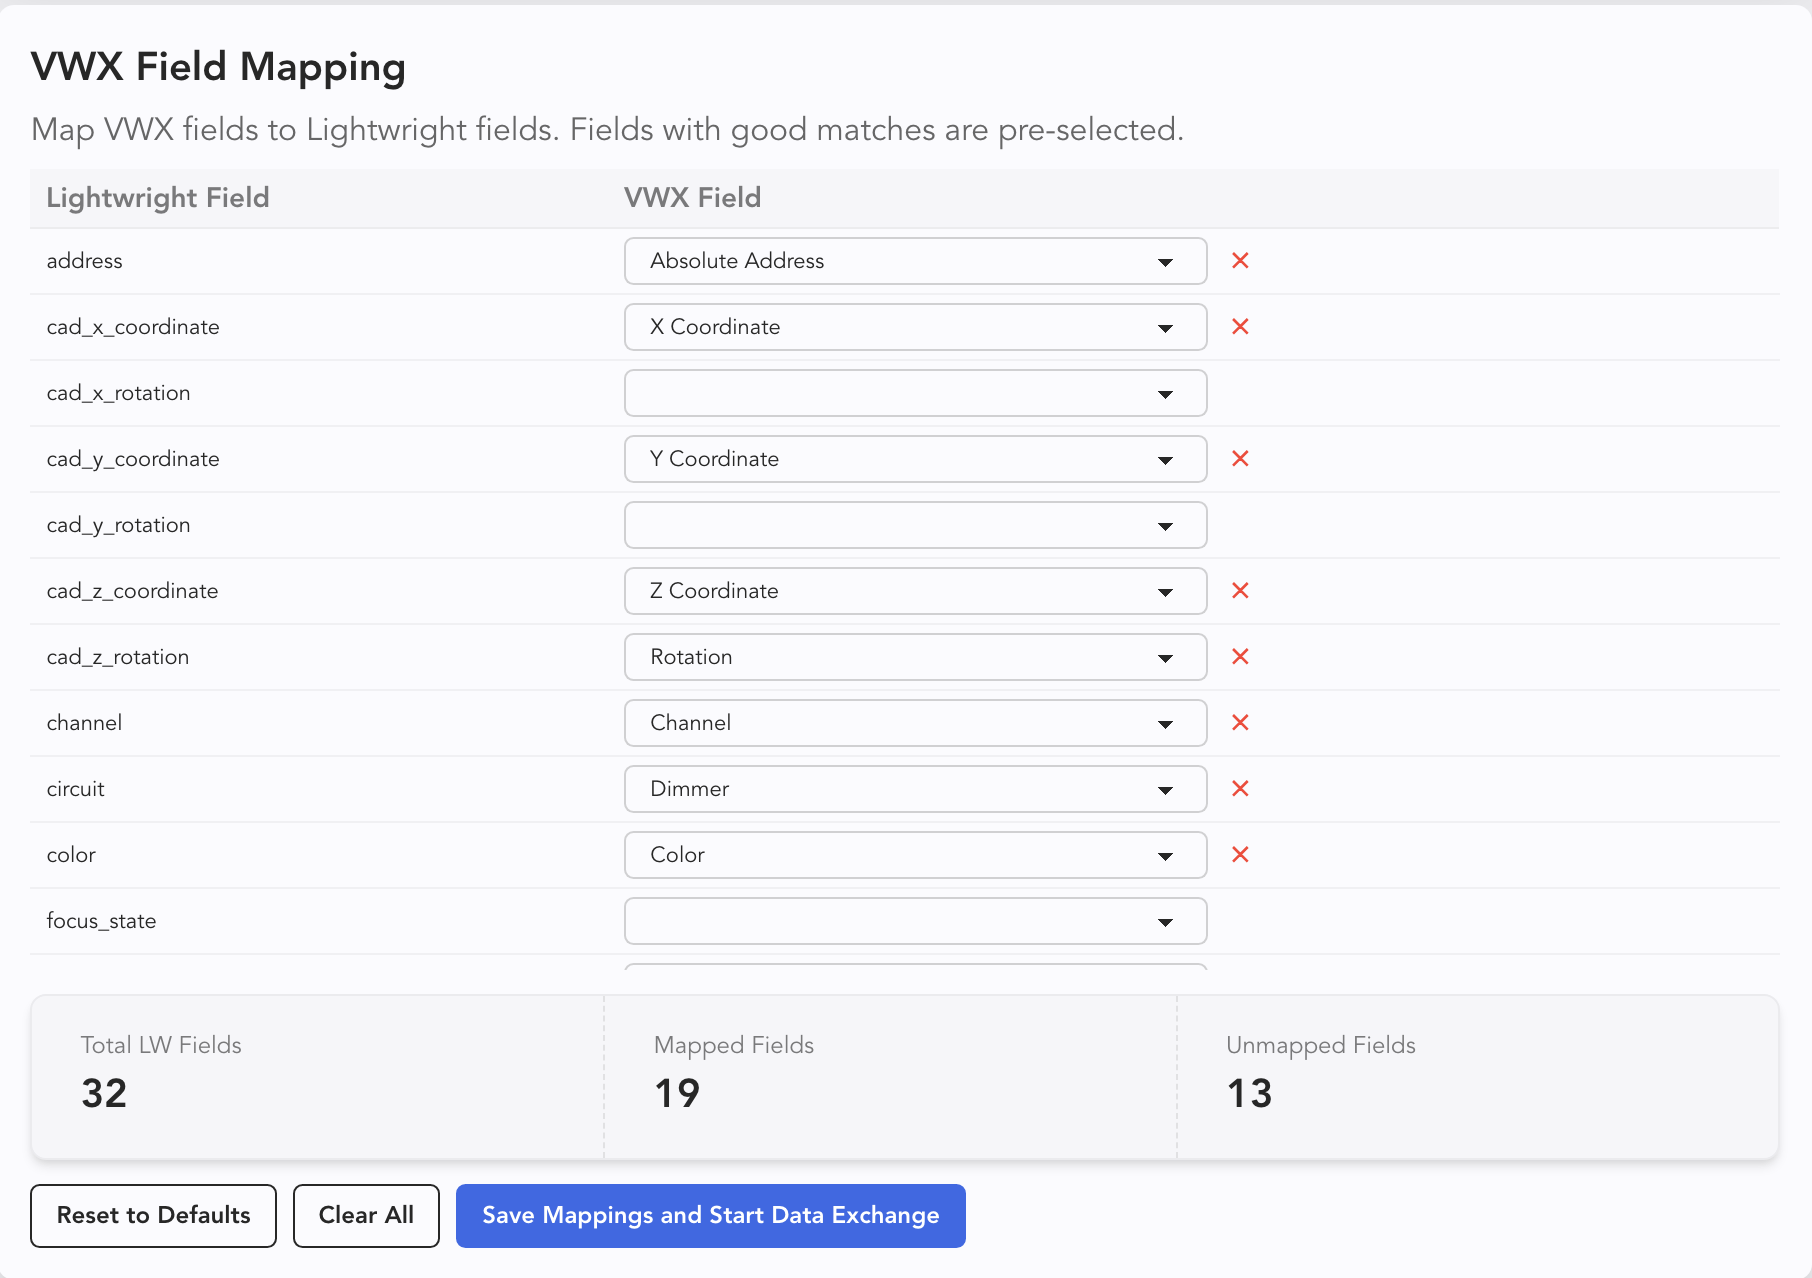
The arrow indicates that this area should be scrolled up and down since there are many more fields than can fit on a single window. When you approve of the mapping, go ahead and press Save Mapping and Start Data Exchange.
At this point, your Worksheet will populate with any lighting devices present or added in Vectorworks. When you change a field in either application, the data will be pushed to the other.
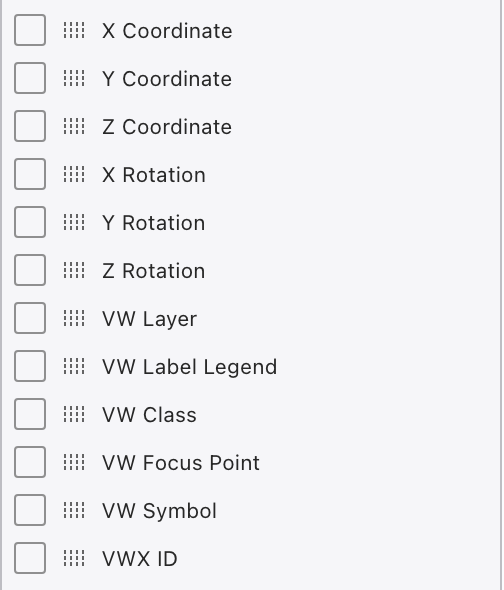
Note: Several fields you didn't see in either field window (Vectorworks or Lightwright) were included in the data exchange. They show up near the bottom of the Columns list.
Conflict Resolution
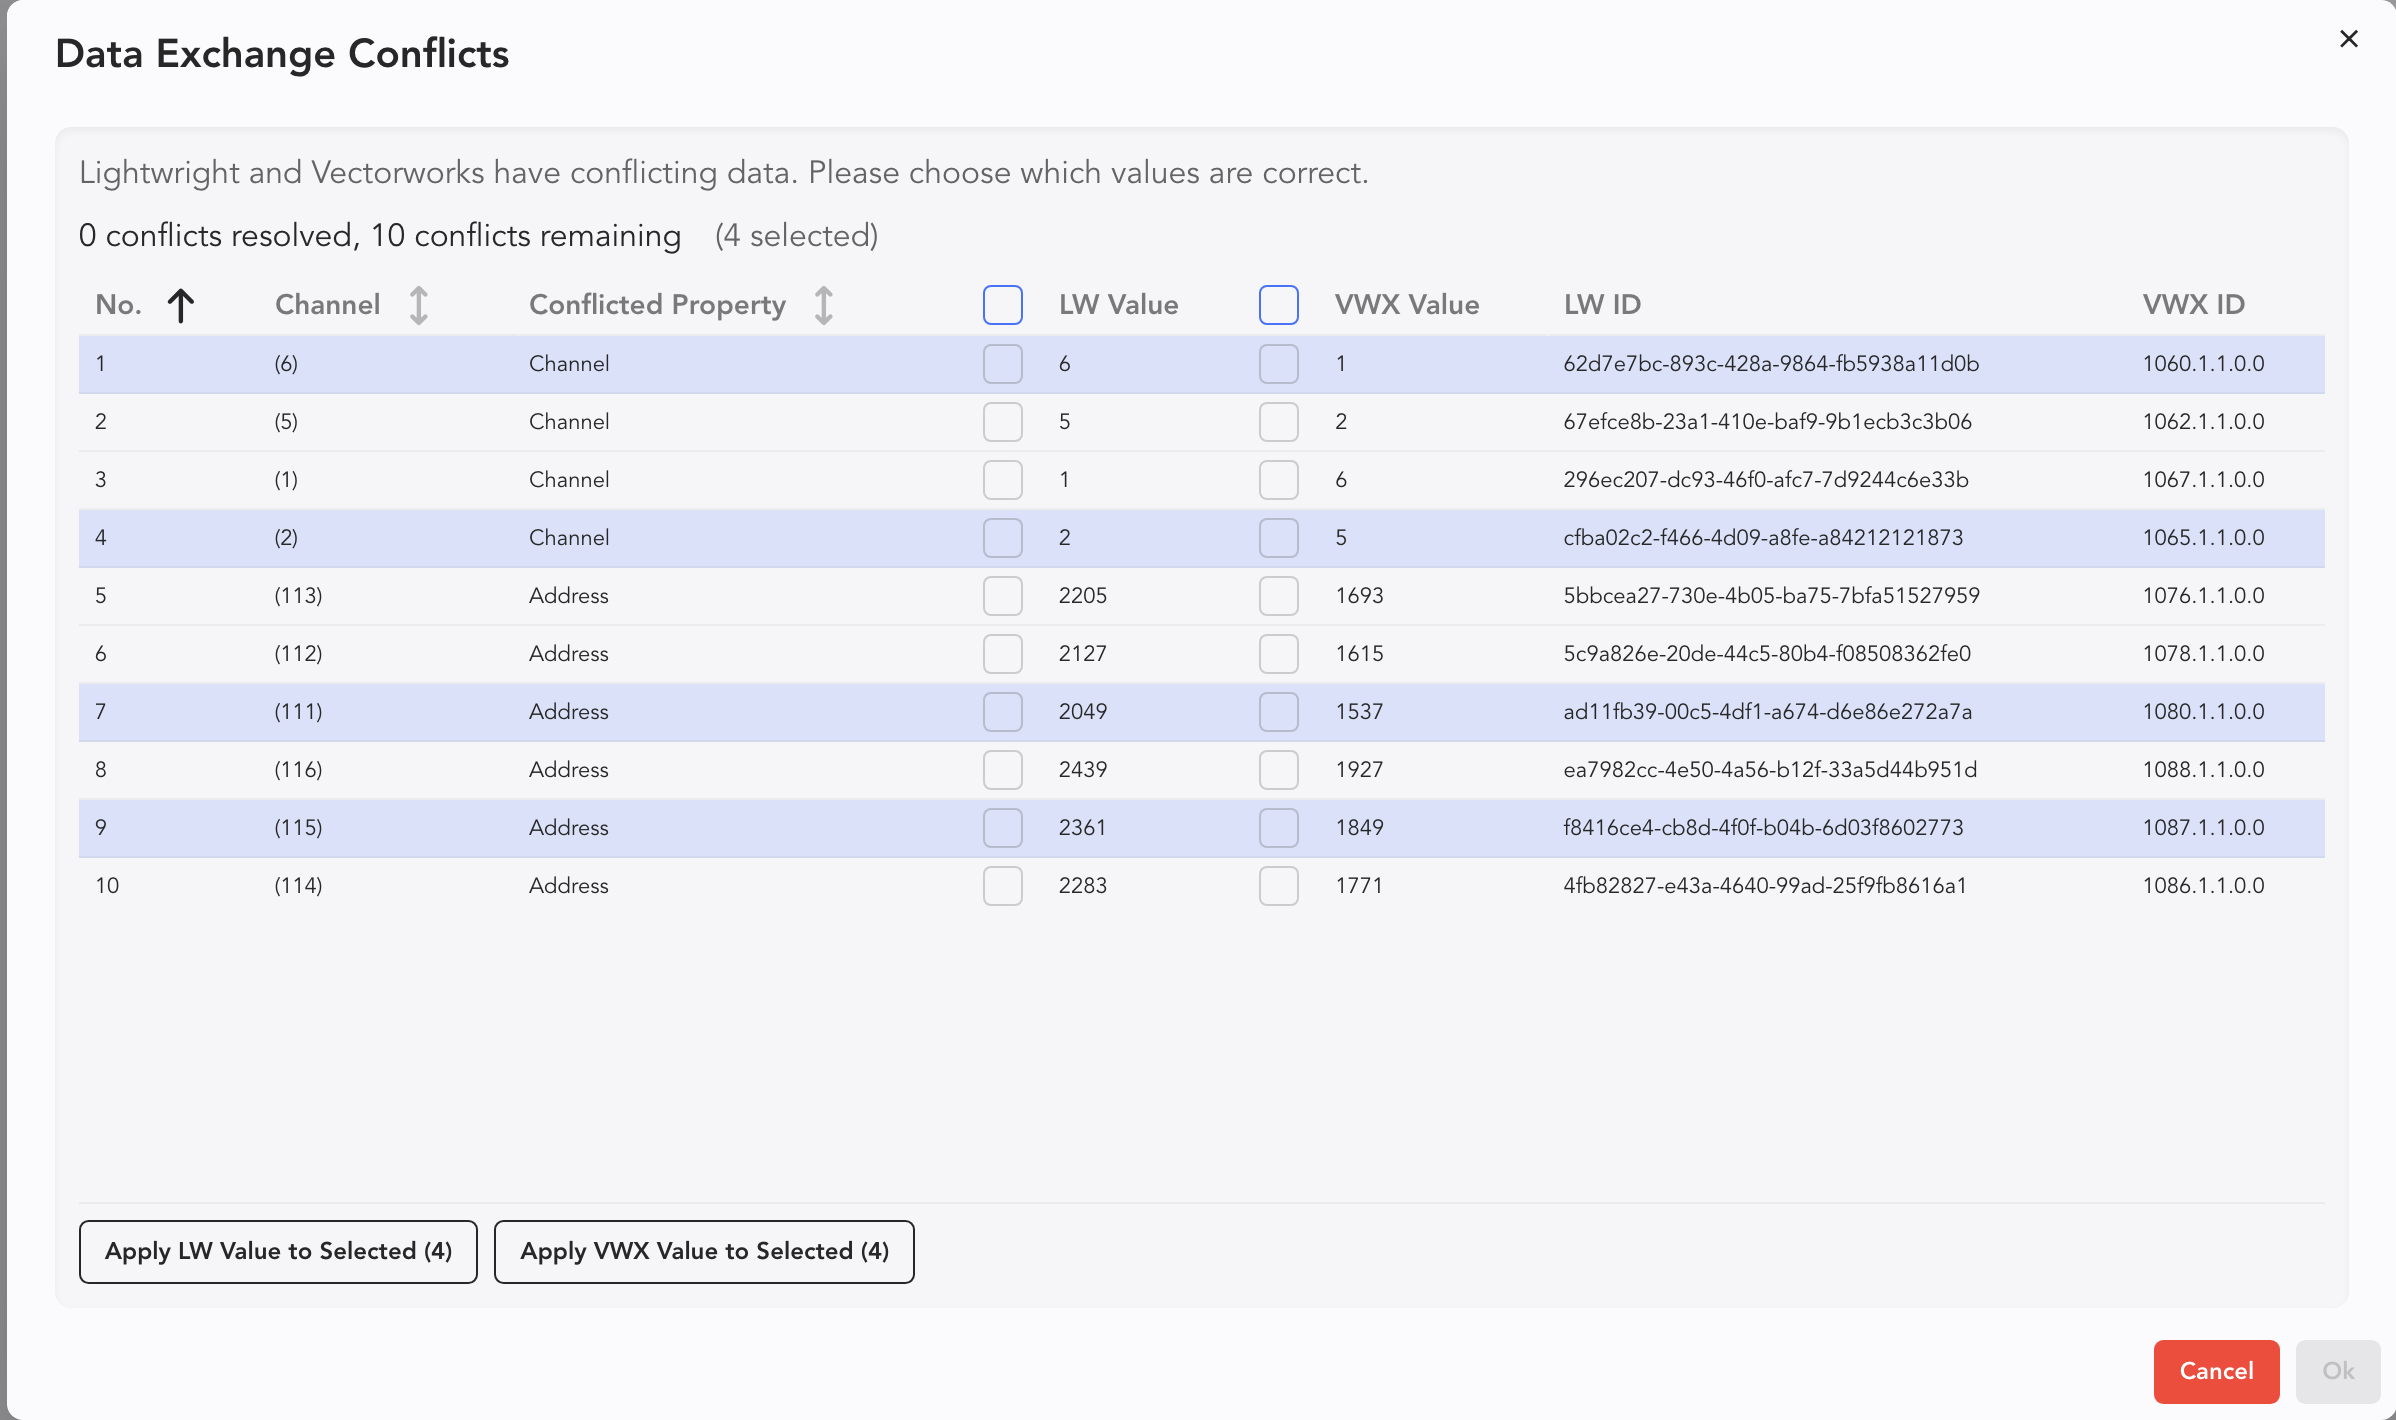
Exchanging data between applications is a fantastic convenience, but no process is perfect. Occasionally, your files may fall out of sync. Perhaps you have recently chosen "Perform a full export to Lightwright when dialogue box closes" and clicked back within Lightwright. If the data doesn't agree, a popup will open in Lightwright to allow you to choose what data is kept.
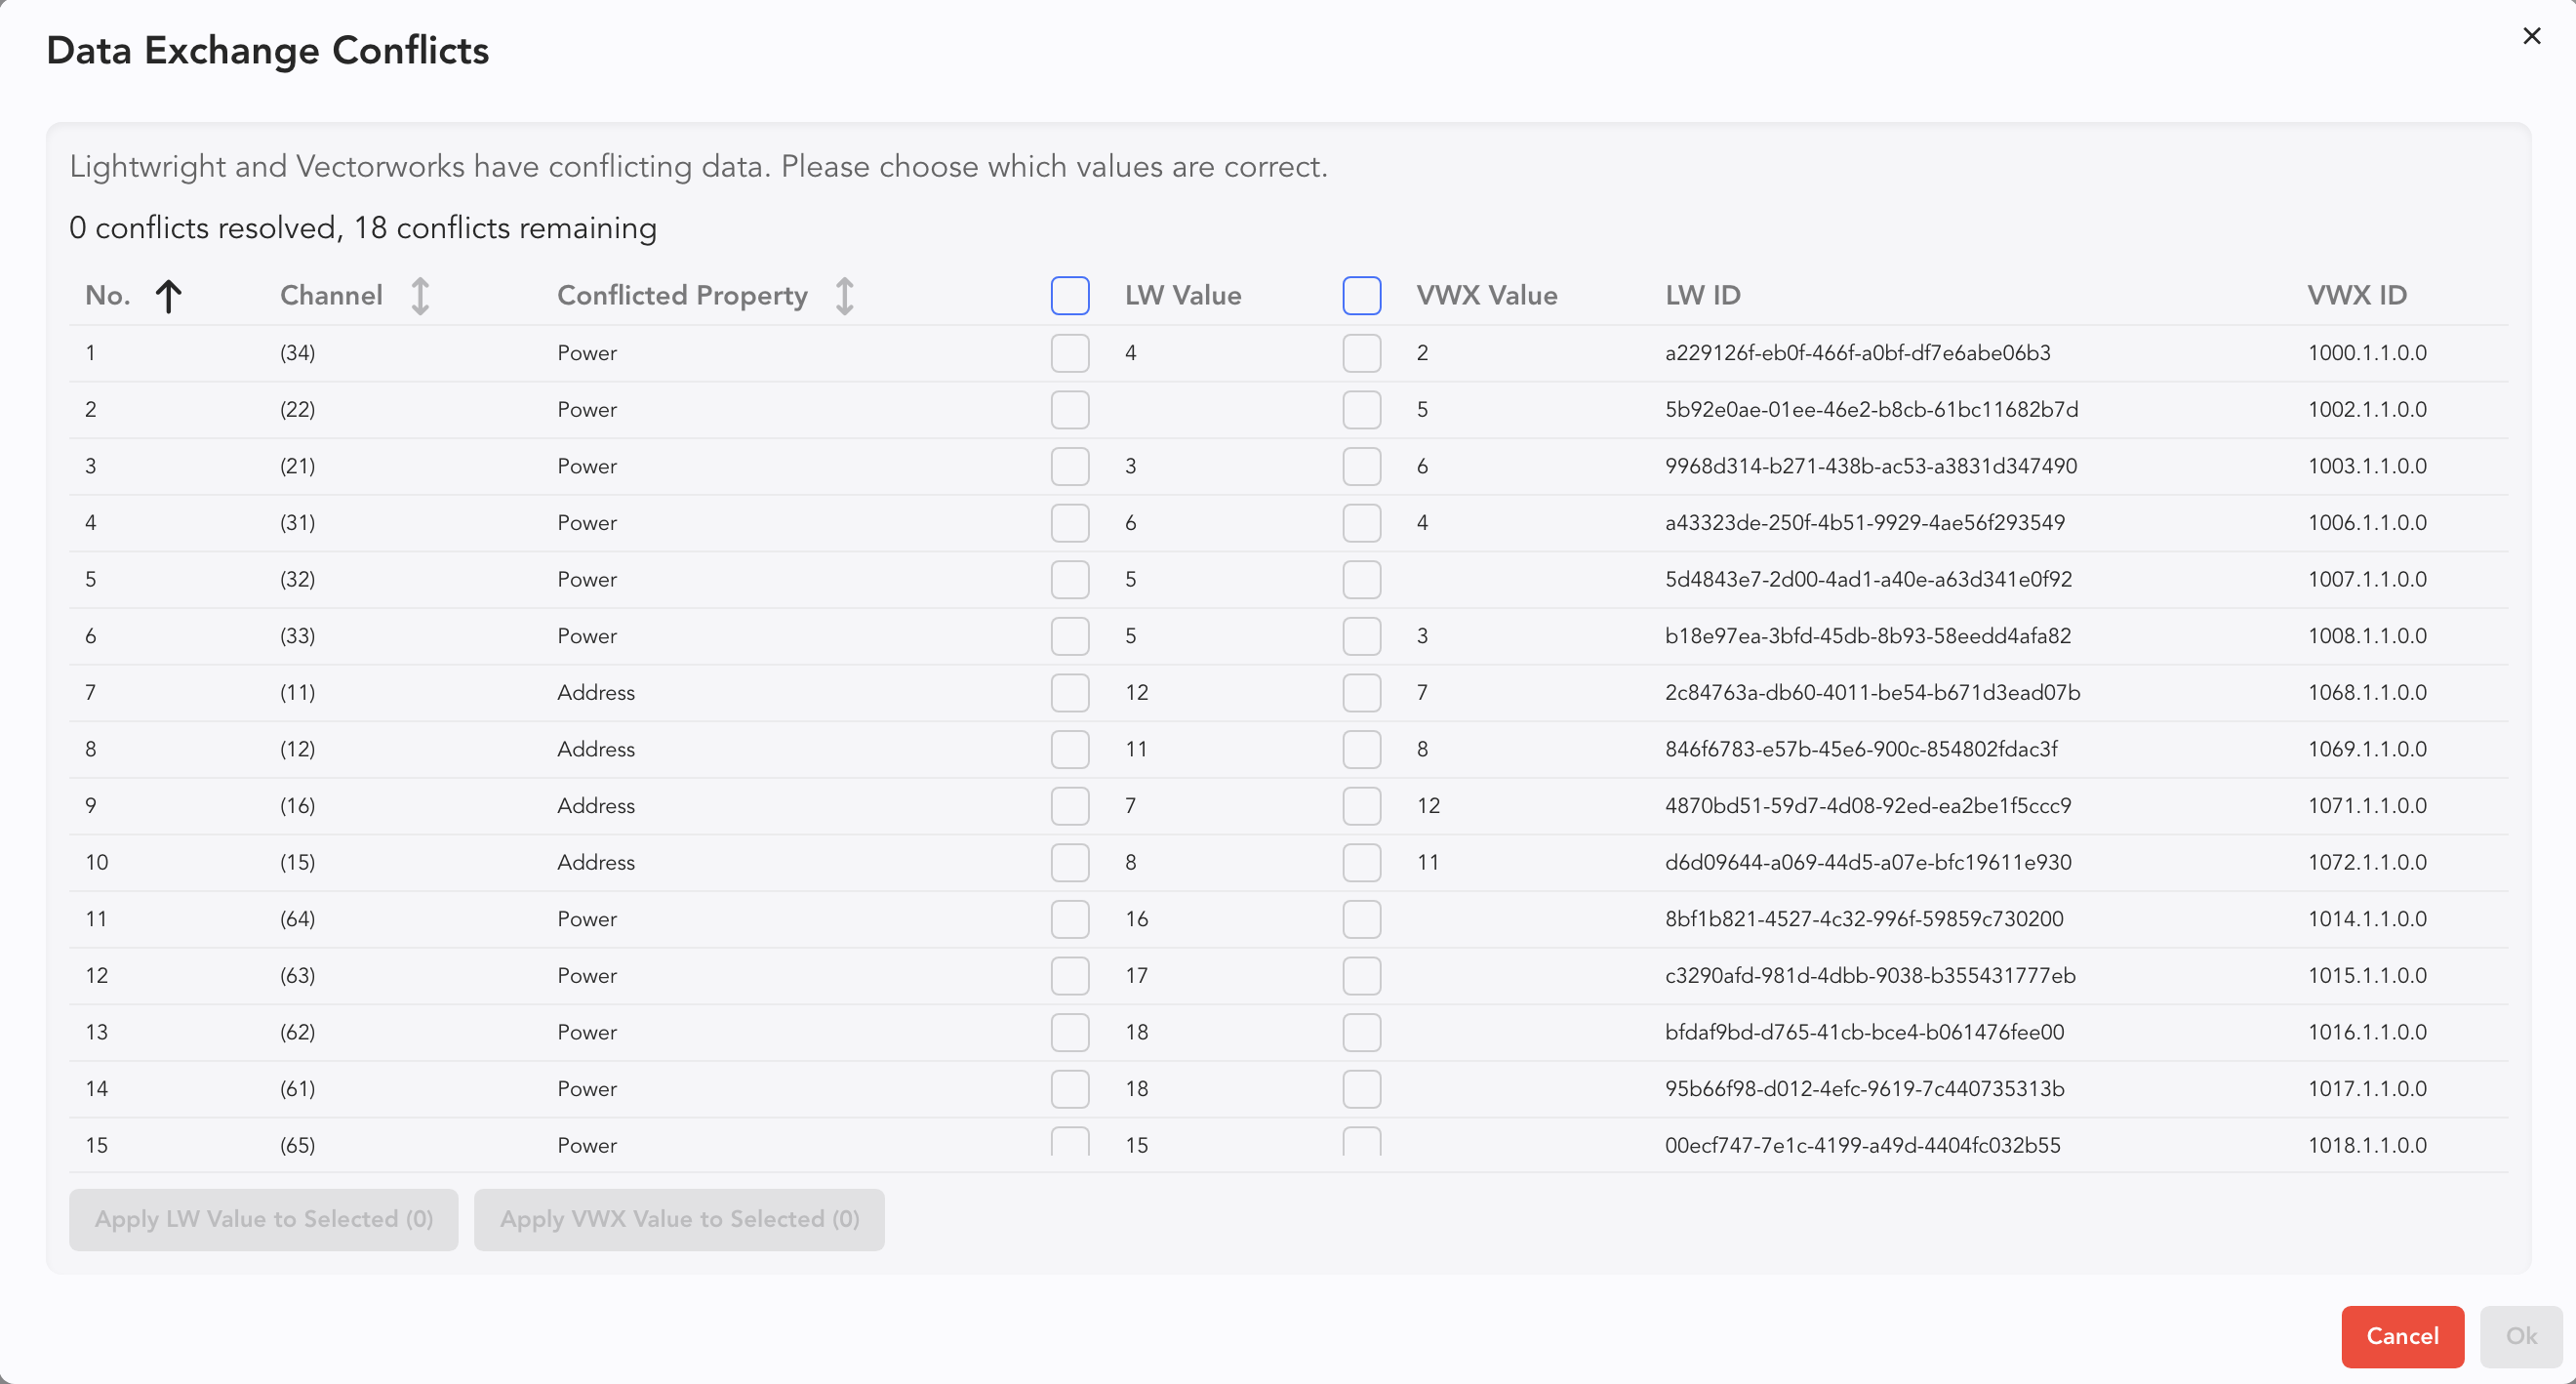
Conflicts can be sorted by Channel or Conflicted Property.
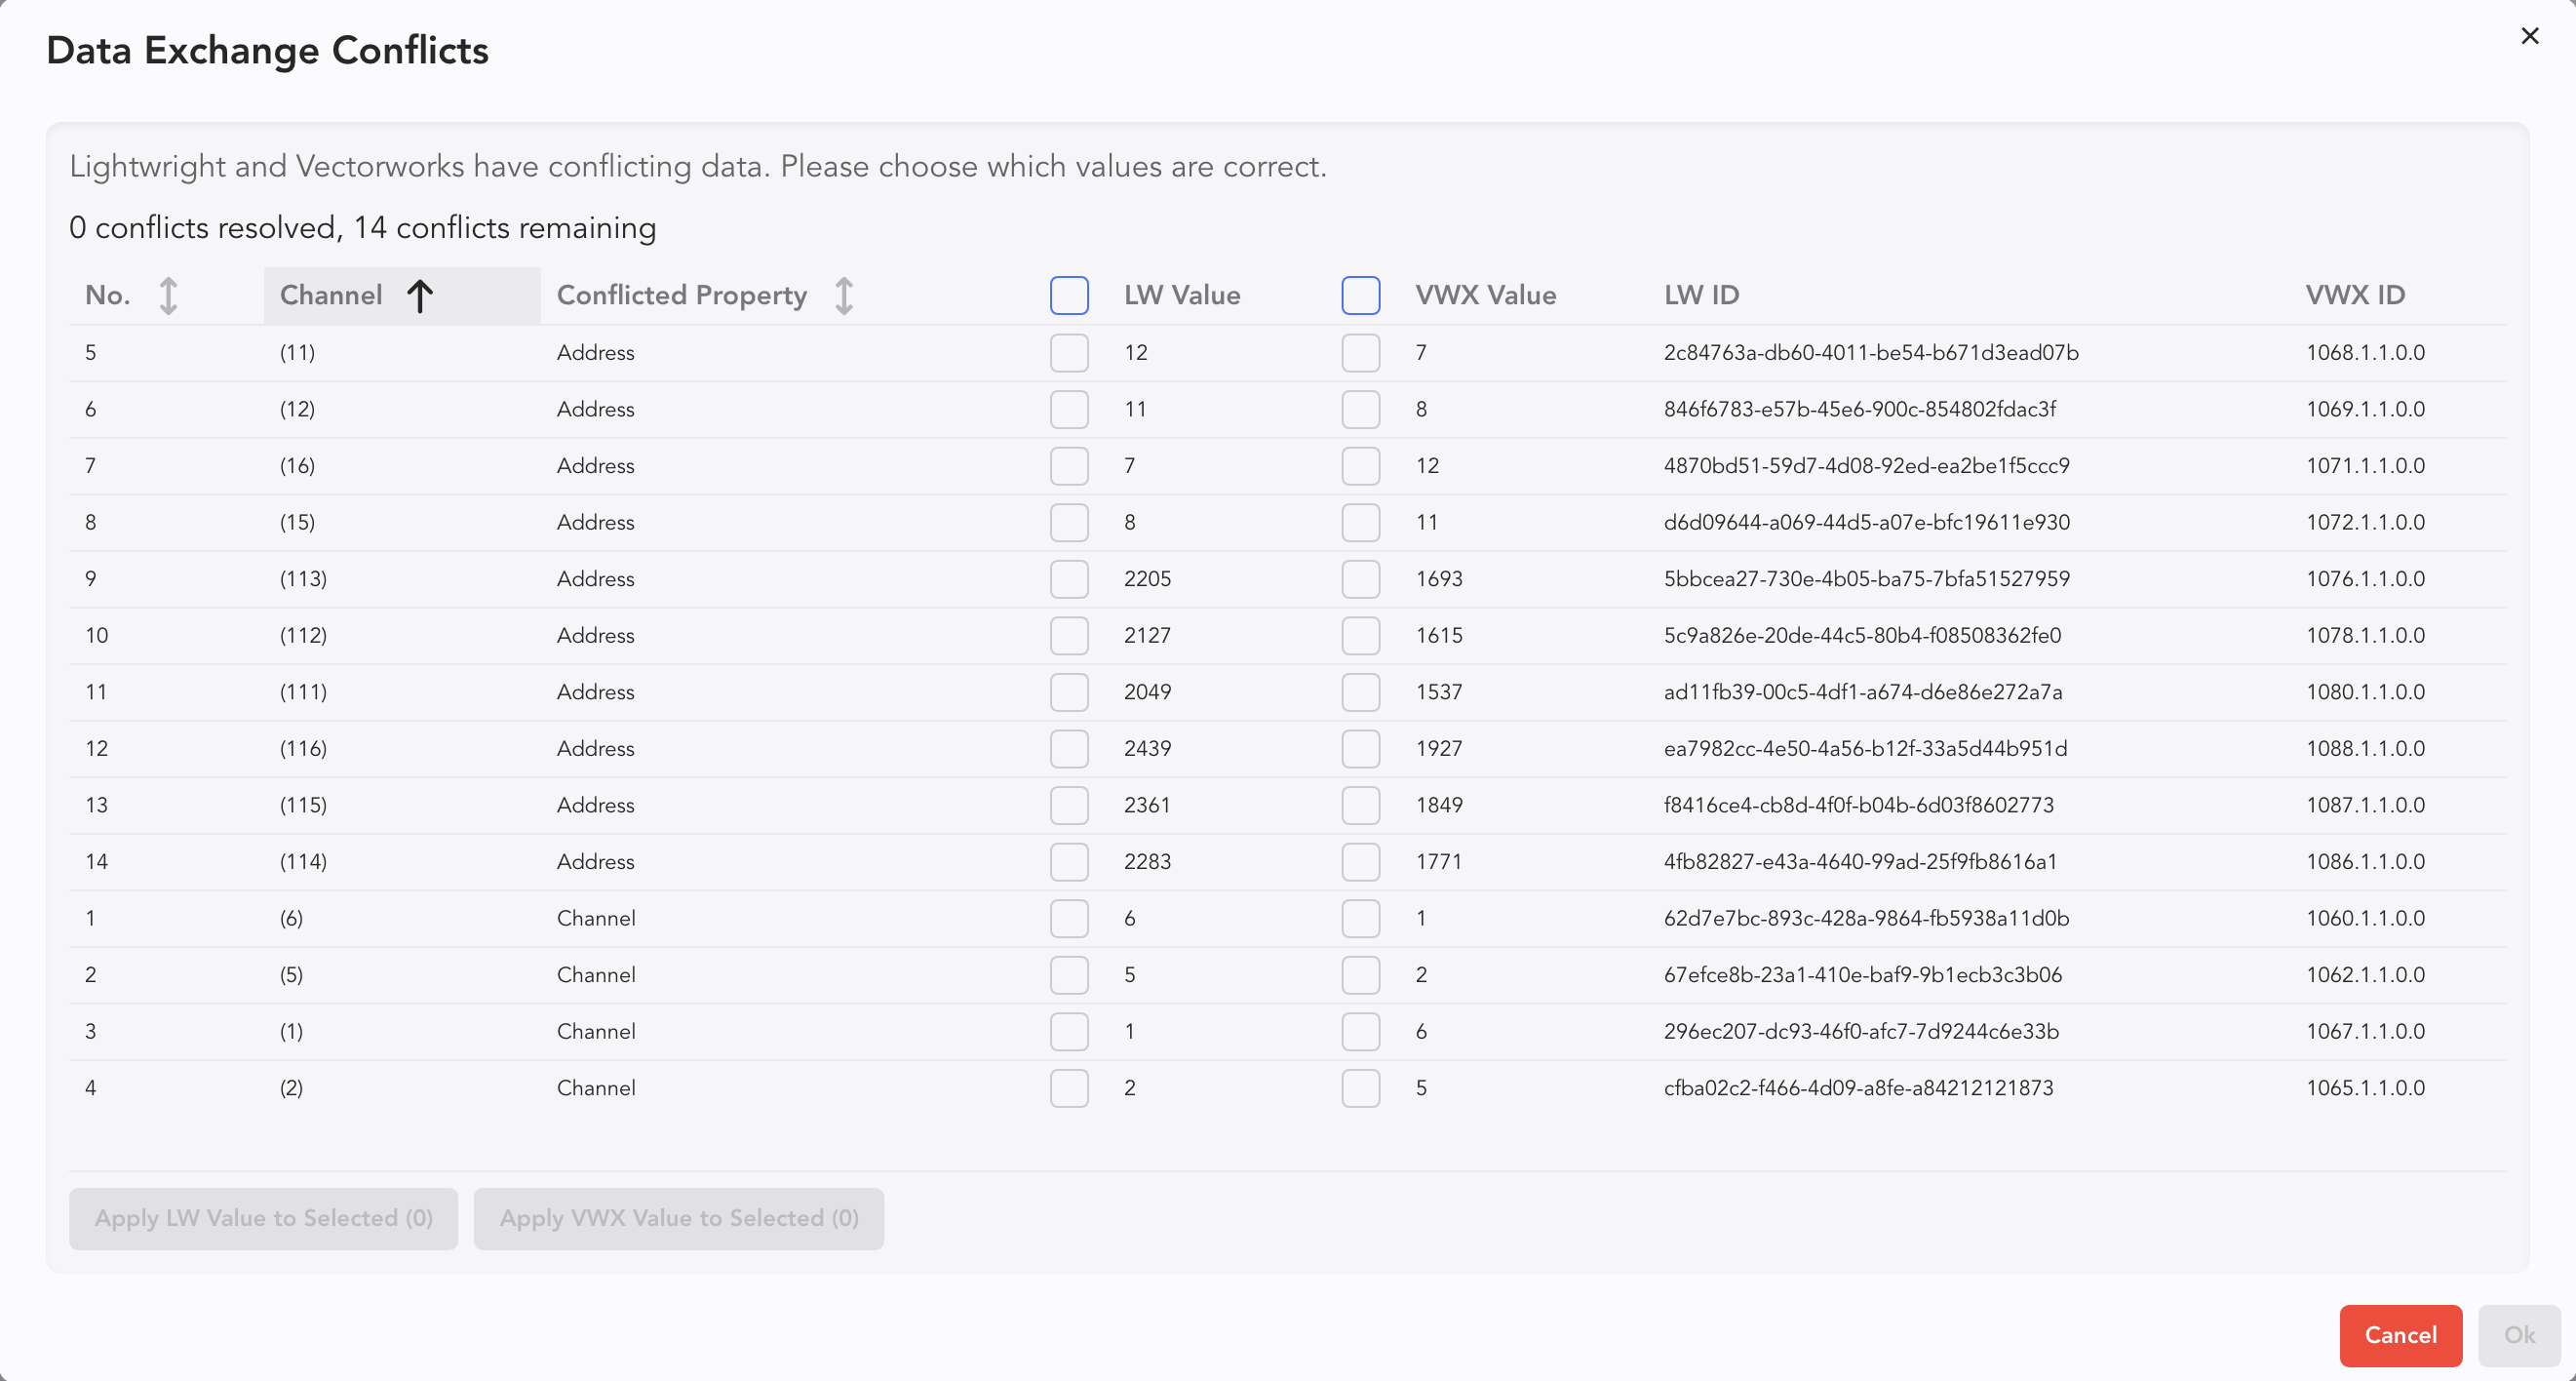
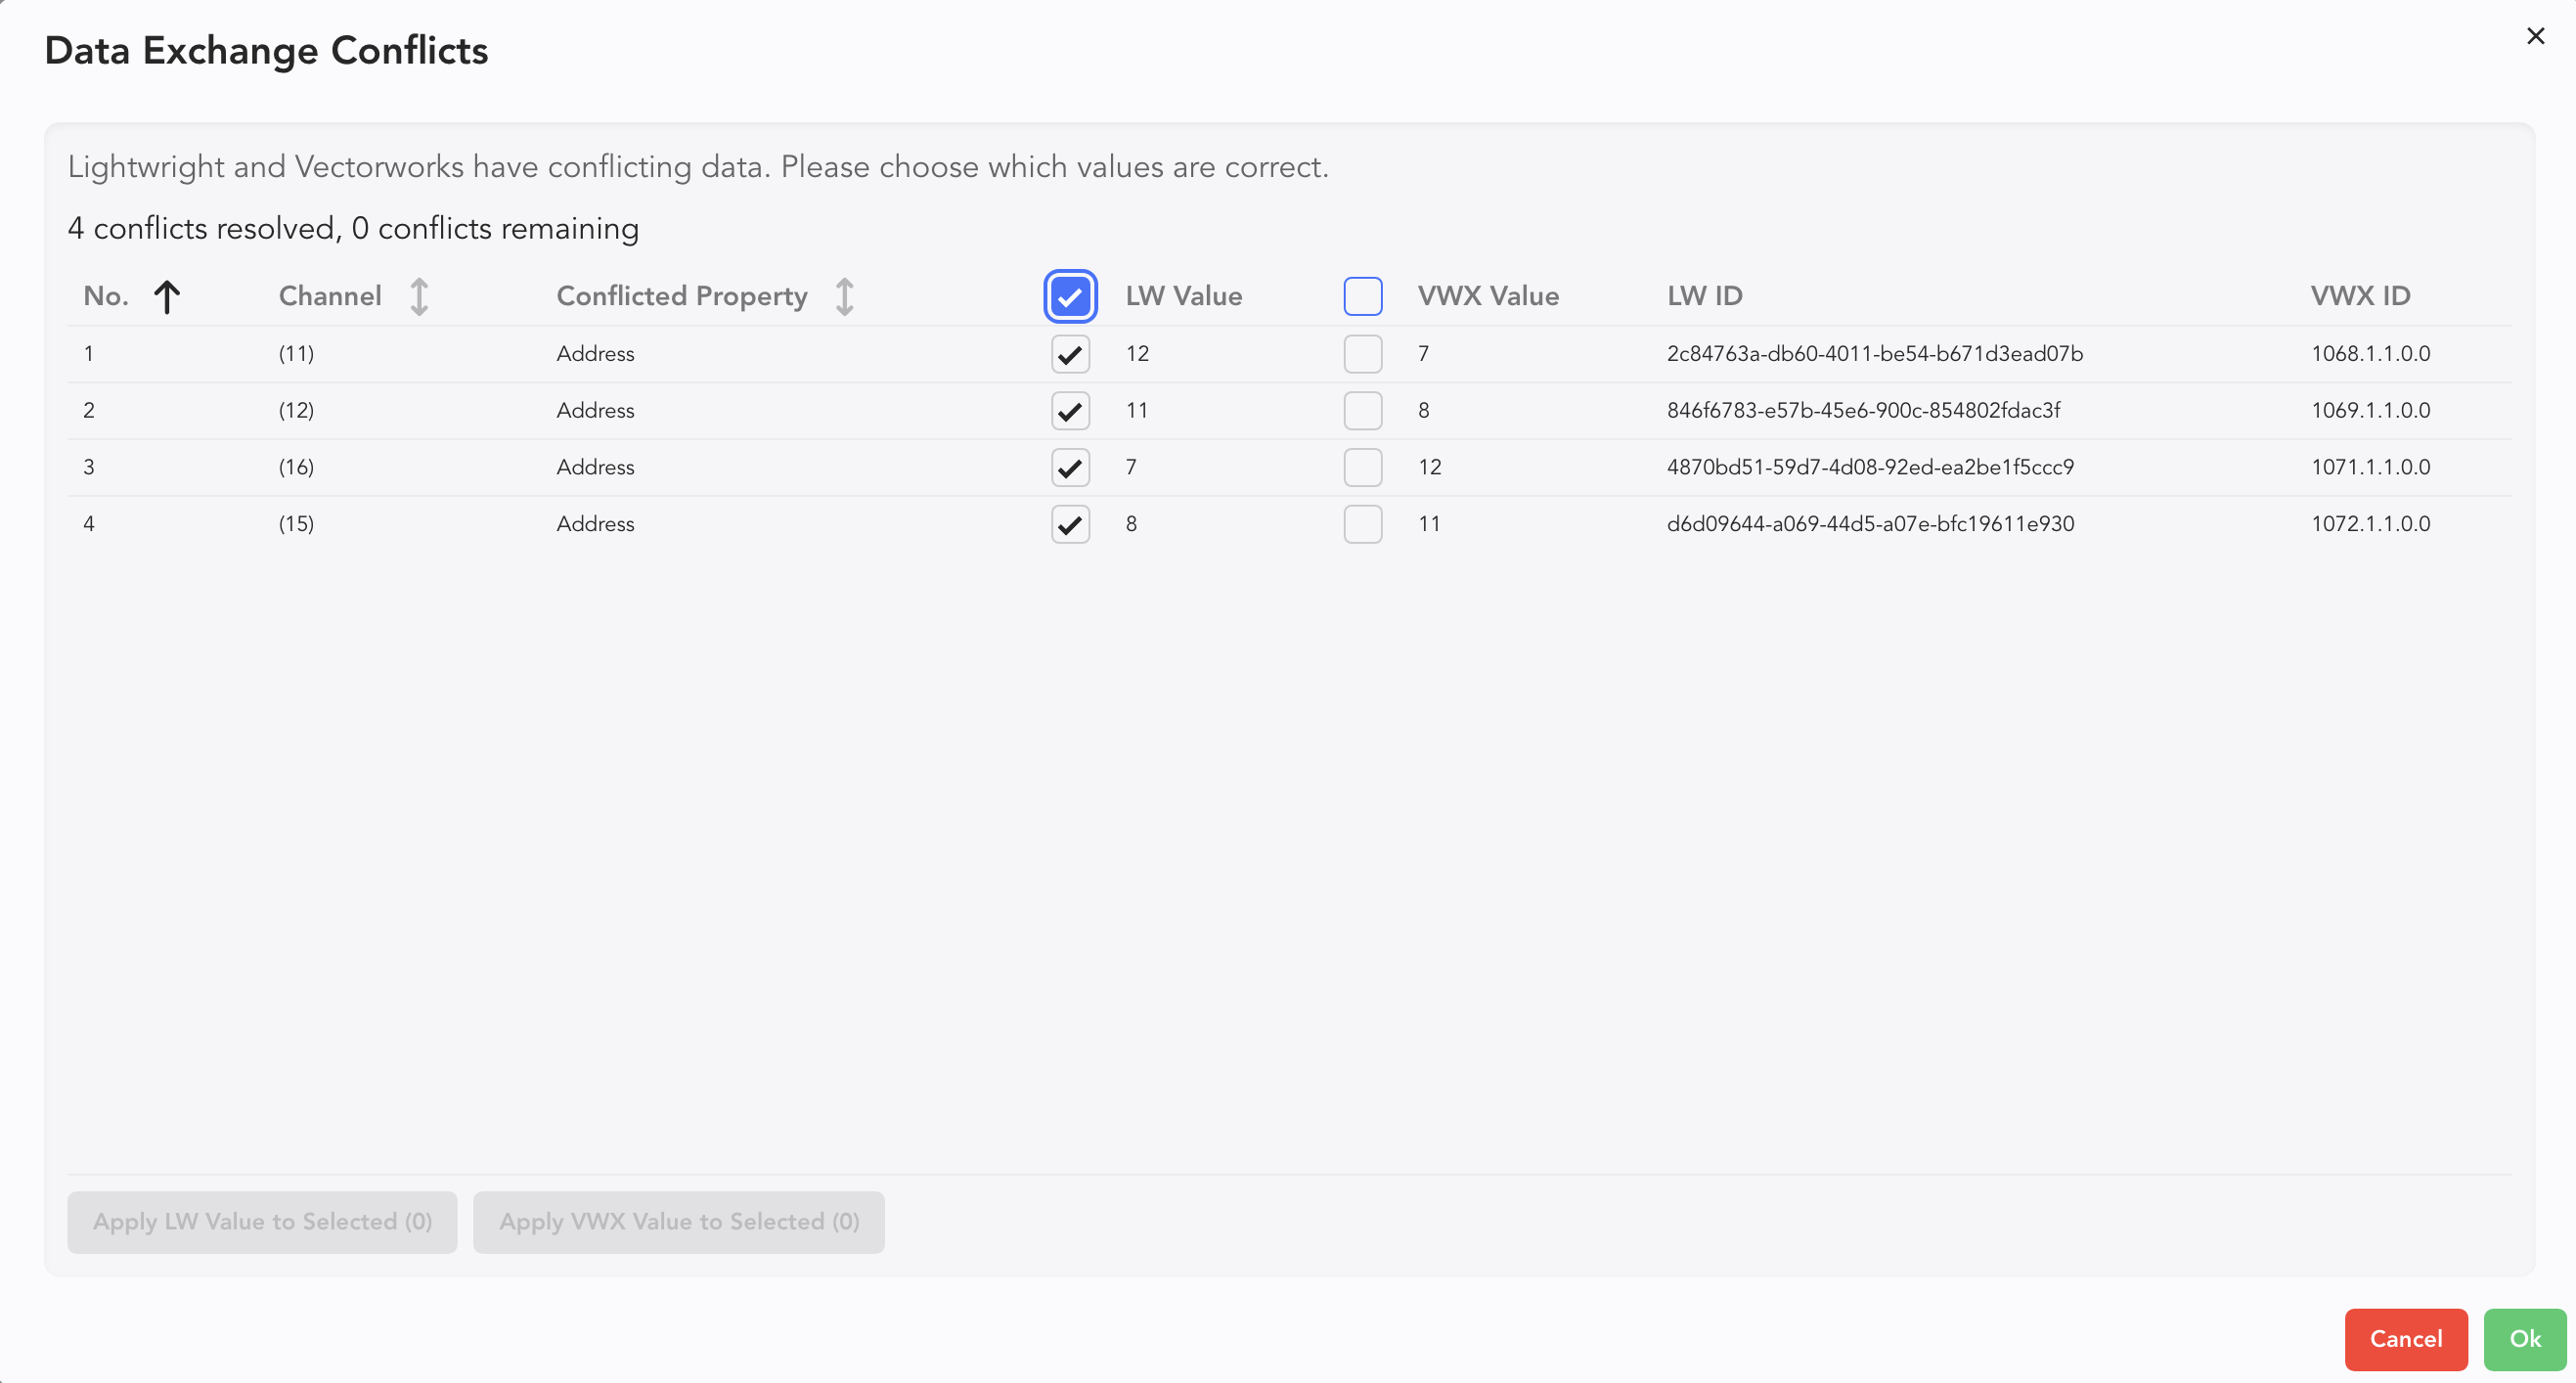
You may individually choose from each line item, or you may use the LW Value or VWX Value to choose an entire column. In this case, the data is correct in LW, so I used the LW Value tick box. Press Ok.
If you prefer to select line items and batch assign whether LW or VW data should be kept, select your fixtures and scroll to the bottom. There you will find two buttons.
Touch to assign in batches.
Lightwright shows the VWX status. If it's working, continue with your work in the Worksheet or elsewhere.

Accessories
A few helpful things about Accessories and sync.
By default, when you add an Accessory in Lightwright, it will NOT be added to the plot. When adding from Add Device, there is a toggle you can turn on to add to the plot.
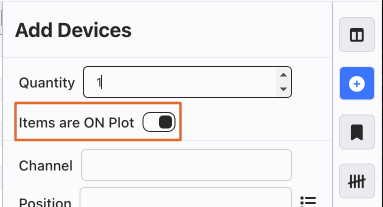
In Accessory Maintenance, you can always change the On Plot status of any Accessory by ticking the On Plot boxes.

Reset Text Colors/ Manage User Colors
In the course of production, you may want to reset the color of your text, which indicates which collaborator contributed that data or if the data came from a Vectorworks Sync.

This is easily accomplished by opening the Highlights Side Tab in the Worksheet.
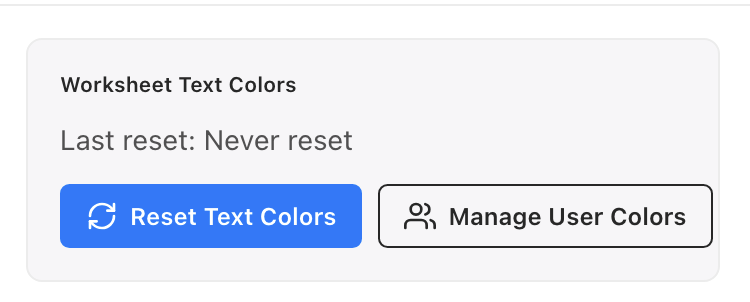
Once the tab is open, touch Reset Text Colors.